Drupal 8 on Windows, IIS, MSSQL and PHP

This guide provides step by step instructions to getting Drupal 8 installed and running on a Windows, IIS, MSSQL and PHP stack.
This guide uses the following software versions:
- Windows 2012 Server R2
- Internet Information Server IIS (8.5)
- SQL Server 2014 Express Edition
- PHP for Windows (5.6.20-nts-Win32-VC11-x86)
- PHP drivers for Microsoft SQL Server (3.2)
- WinCache Extension for PHP (1.3.7.8-5.6-nts-vc11-x86)
- PHP Manager for IIS 7 (1.2.0-x64)
- URL Rewrite (2.0)
- Drupal (8.0.6)
- Drupal 7 driver for SQL Server and SQL Azure module (8.x-1.0rc1)
- WinCache Drupal module (8.x-1.6)
Install Internet Information Server
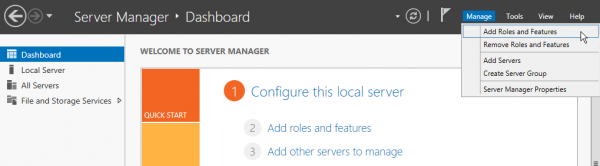
- First open Server Manger
On the top right menu, click Manage and select Add Roles and Features
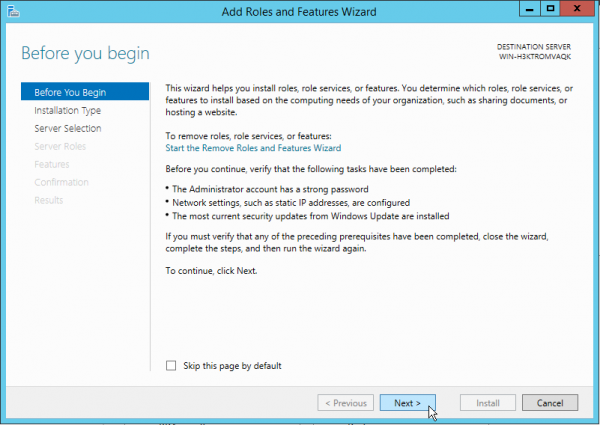
Click Next on the Before You Begin wizard screen.
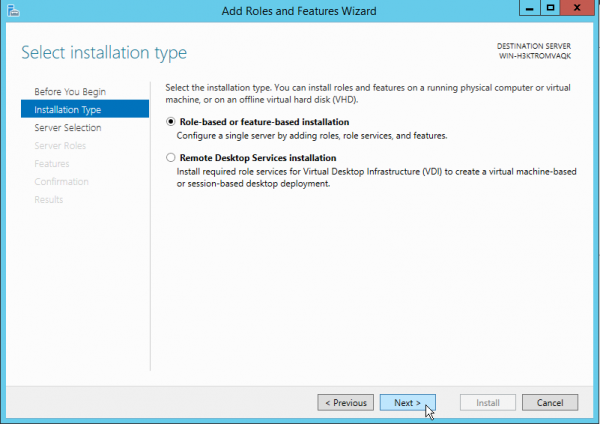
Select Role-Base or feature bases installation
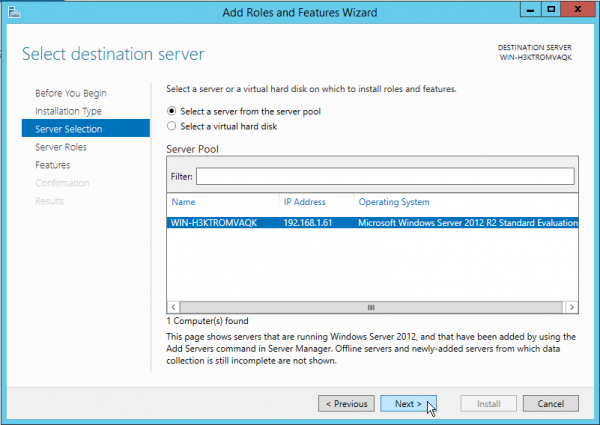
Select your server (The local server is selected by default) and click Next
Select Web Server (IIS) and click Next

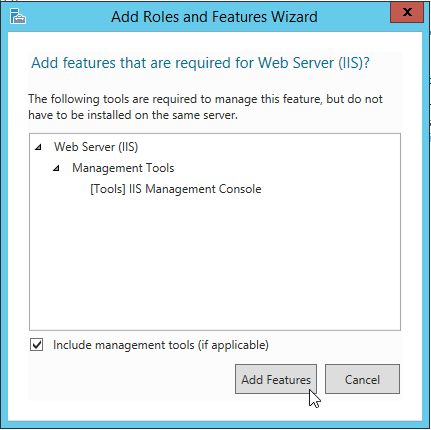
Click Add Features on the Add Roles and Feature Wizard popup
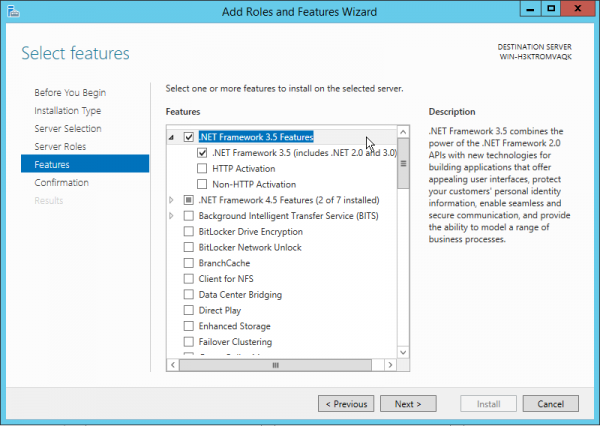
On the Select features screen select .NET Framework 3.5 Features as this is required later on by other software
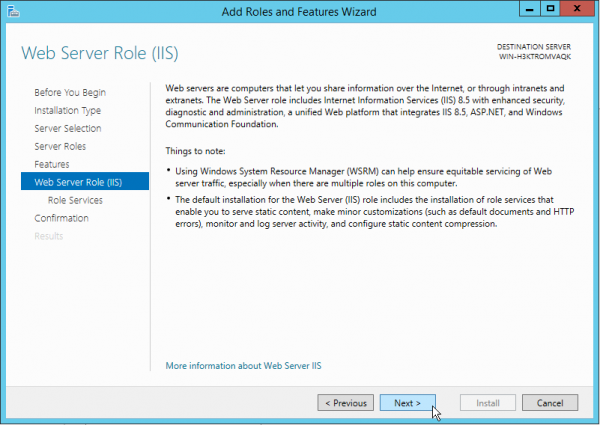
Click Next on the Web Server Role (IIS) screen
On the Select role services screen, expand Application Development and select CGI and then click Next

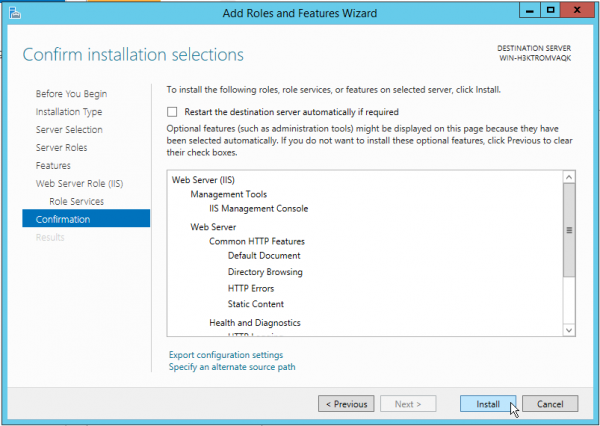
Click Install to begin the installation
Click Close to exit the wizard

Once IIS is install, it will appear under ROLES AND SERVER GROUPS on the Server Manger Dashboard
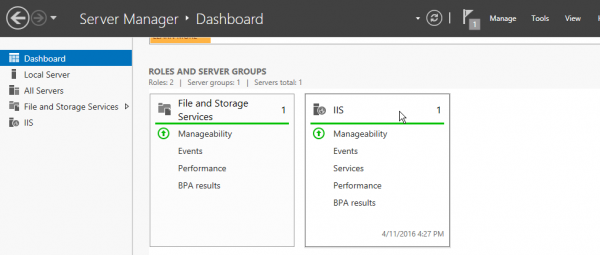
- In addition to IIS, we need two other IIS extensions:
On a fresh install of Windows server, IE enhance security is enabled by default which prevents you from going to any external websites. You must first disable it by going to Server Manager > Local Sever and turn IE Enchanced Security Configuration to Off before you can proceed to download any files from IE or even alternative browser.

- Download and install PHP Manager for IIS 7 extension (the extension works fine for IIS 8-8.5) from https://phpmanager.codeplex.com/releases/view/69115
- Download and install URL Rewrite extension from http://www.iis.net/downloads/microsoft/url-rewrite
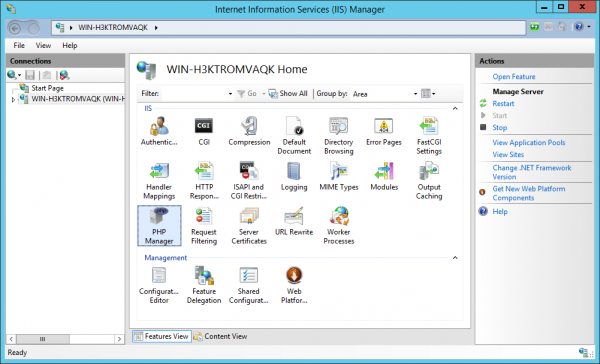
Once installed, the extensions will appear in IIS Manager
Install PHP for Windows
- Download the latest version of PHP 5.6.x from http://windows.php.net/downloads/releases. Choose the nts VC11 x86 version (x64 build is still experimental. It neither provides 64bit integers or large file support)
- Once downloaded, right click the zip file and select Extract All. Extract the zip file content to C:\php\5_6 (Make sure php.exe is located at c:\php\5_6\php.exe once extracted)
- PHP VC11 build requires the Visual C++ Redistributable for Visual Studio 2012 be installed. You can download the file from here http://www.microsoft.com/en-us/download/details.aspx?id=30679
- In addition to the PHP modules that already comes with the php zip file, we also require two other modules:
- The Microsoft SQL Server drivers can be downloaded at https://www.microsoft.com/en-us/download/details.aspx?id=20098. You need the file SQLSRV32.EXE for SQL Server 2014 Express.
- Create a new directory named php_sqlsrv in your Downloads directory
- Run SQLSRV32.EXE. Click Yes to agree terms. The installer will prompt you for the location to extract the files. Click Browse and select Downloads\php_sqlsrv then click OK.
- Click OK again to complete extraction.
- Go to the Downloads\php_sqlsrv directory in explorer and copy the php_pdo_sql_srv_56_nts.dll file to the PHP extension directory at c:\php\5_6\ext.
- Next download the latest 1.x.x version of wincache from http://windows.php.net/downloads/pecl/releases/wincache
- Extract the zip file and copy the file php_wincache.dll to the php ext directory C:\php\5_6\ext
- PHP on Windows is not able to use the certificates stored on the Windows Operating System. The certificates must be downloaded and configured manually so that PHP can use them.
- Download the certificates from https://curl.haxx.se/ca/cacert.pem and copy the cacert.pem file to C:\php\5_6
- We now need to configure php.ini. First make a copy of C:\php\5_6\php.ini-production and rename the new file php.ini
Open php.ini in a text editor and add the following lines to the end of the file:
; extension directory extension_dir = "c:\php\5_6\ext" ; enable extensions extension=php_intl.dll extension=php_bz2.dll extension=php_curl.dll extension=php_fileinfo.dll extension=php_gettext.dll extension=php_gd2.dll extension=php_mbstring.dll extension=php_opcache.dll extension=php_openssl.dll extension=php_pdo_sqlsrv_56_nts.dll extension=php_wincache.dll ; SSL root certificates curl.cainfo="C:\php\5_6\cacert.pem" ; enable opcache zend_extension=php_opcache.dll opcache.enable=1 opcache.mmap_base = 0x20000000 pdo_sqlsrv.client_buffer_max_kb_size=30000 wincache.ucachesize=30- Add the directory C:\php\5_6 to the system environment path. To do this, open File Explorer and right click This PC on the left panel.
- Select Properties on the menu to open the System window.
- Click Advance system settings on the left and then the Environment Variables button
- Under System variables, select Path and then click the Edit button
At the end of the Variable value add the PHP directory (Make sure to add the ; separator)
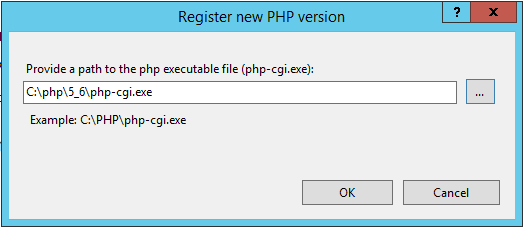
;C:\php\5_6We now need to configure PHP using PHP Manger for IIS that was previously installed. To do this, start IIS Manager from Start > Administrative Tools. Click on your local server on the left menu and double click PHP Manager in the centre panel to open it.

Click Register new PHP version and then browse to C:\php\5_6 and select php_cgi.exe. Click Open to close the browse window and then click OK.
- Check PHP is correctly configured by clicking Check phpinfo(). Select drupal for the site and leave the URL as http://localhost and click OK. If PHP is configured correctly, you should see the output of phpinfo().
Install Microsoft SQL Server 2014 Express
- Download Microsoft SQL Server 2014 Express (SQLEXPRADV_x64_ENU.exe) from https://www.microsoft.com/en-hk/download/details.aspx?id=42299
- Start the installer. When prompted to Choose Directory For Extracted Files, just use the default and click OK
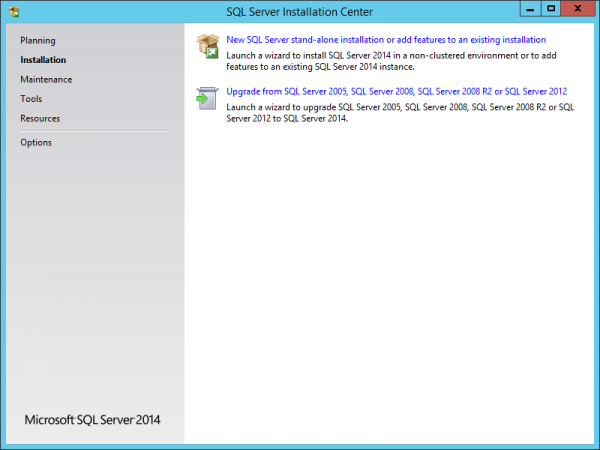
Select New SQL Server stand-alone installation or add features to an existing installation on the SQL server Installation centre screen
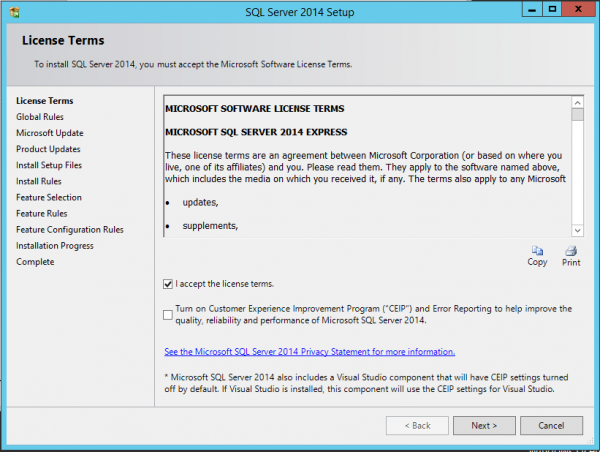
Check I accept the license terms and click Next on the Licence Terms screen
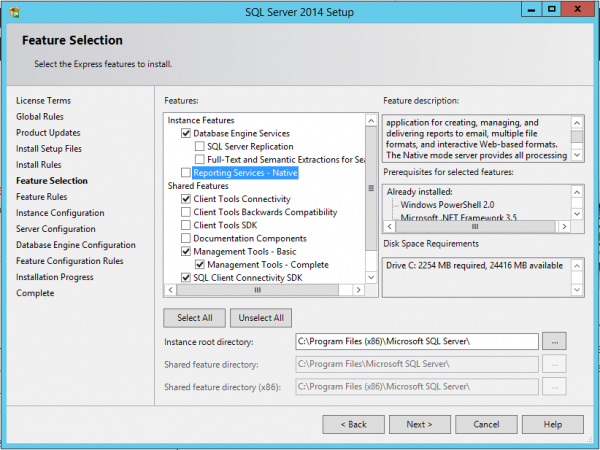
On the Feature Selection screen, uncheck the following feature unless you specifically need the feature and click Next:
- SQL Server Replication
- Full-Text and Semantic Extractors for Search
- Reporting Services - Native
- Client Tools Backward Compatibility
- Client Tools SDK
- Documentation Components
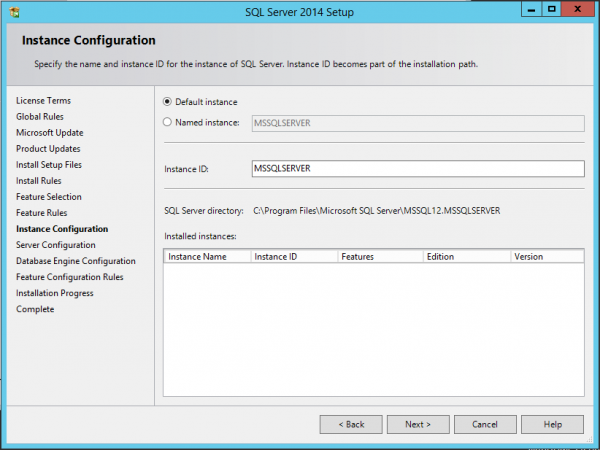
On the the Instance Configuration screen, select Default instance and click Next
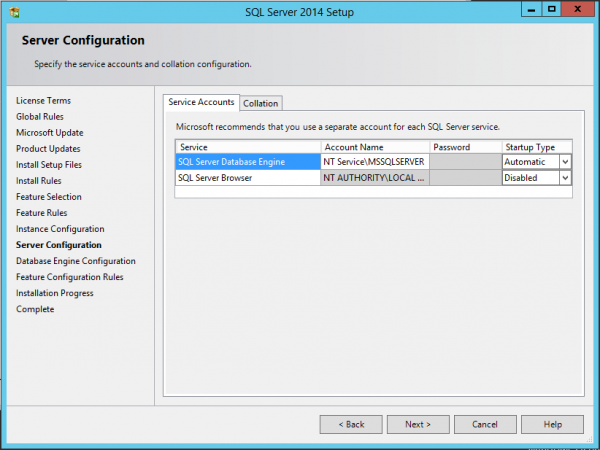
On the Server Configuration screen leave setting as default and click Next
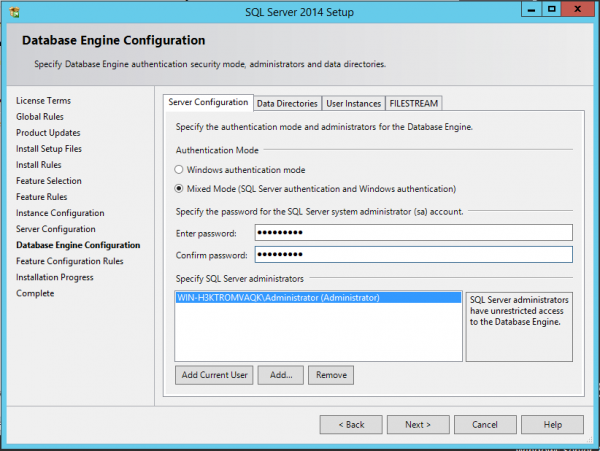
On the Database Engine Configuration screen, select Mixed mode. Enter a password and click Next
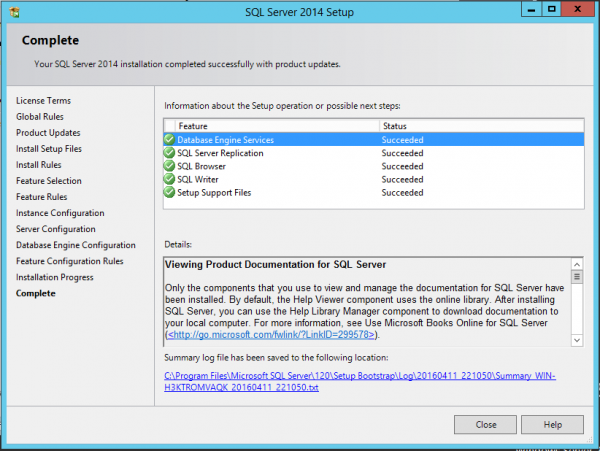
Click Close to complete the database installation
- By default, SQL Server does not accept connections via the TCP/IP protocol. We must enable this using the Sql Server Configuration Manager.
Start Sql Server Configuration Manager and on the left panel expand SQL Server Network Configuration.
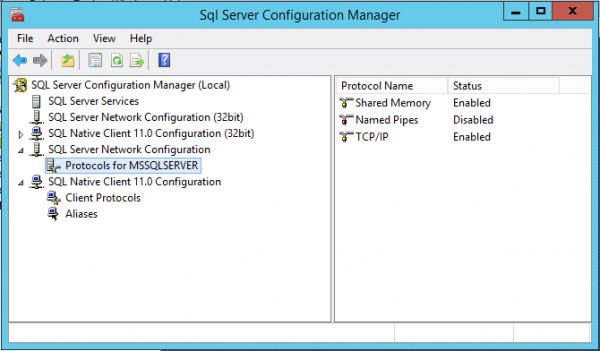
- Double click TCP/IP on the right panel and change the Enabled value to Yes then click OK
Prepare Drupal 8 Install
- Download Drupal 8 zip package from https://www.drupal.org/8/download
- Create a new directory named drupal in C:\inetpub\wwwroot
- Extract the containing drupal-8.X.X directory to C:\inetpub\wwwroot\drupal
- Rename the extracted drupal-8.X.X directory to drupal-8
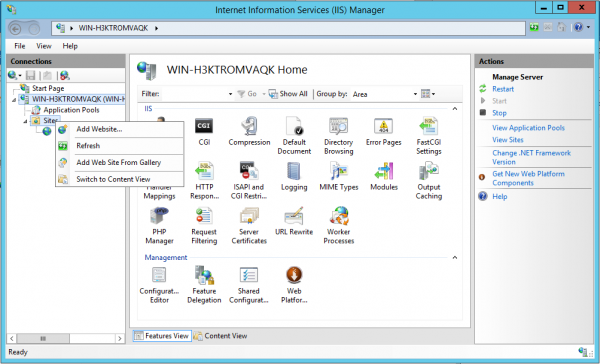
- We now need to create a new website in IIS. To do this, open IIS Manager.
- We do not need the Default web site so delete it. Expand the local server and then Sites on the left panel. Right click Default Web Site and select Remove. Click Yes to confirm removal of the site
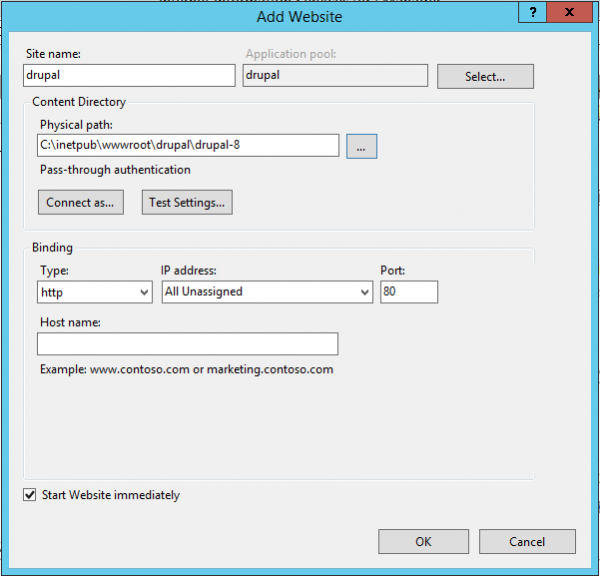
Create a new website by right clicking the Sites folder on the right panel and select Add Website
On the Add Website form, enter a site name (e.g. drupal - note the AppPool name on the top right as you will need this later to set permissions of folders) and select the directory where you extracted drupal (e.g. C:\inetpub\wwwroot\drupal\drupal-8.0.6). Click __OK__to create the site.
- We now need to fix permissions on the C:\inetpub\wwwroot\drupal directory and files.
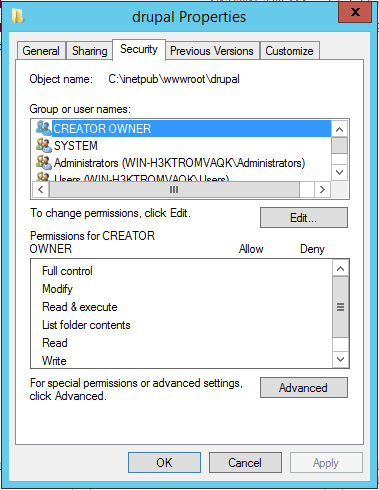
- Open File Explorer and navigate to C:\inetpub\wwwroot. Right click the drupal directory and select properties
In the drupal properties window, select the Security Tab then click Edit
Click Add and then enter IIS AppPool\drupal and click Check Names
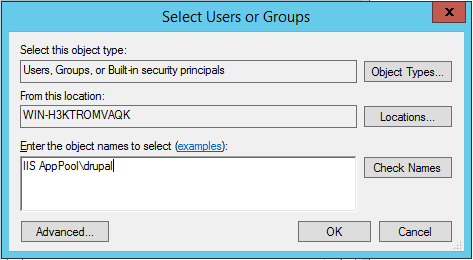
Once you click Check Names the text you enter will turn to an underline drupal. Click OK.

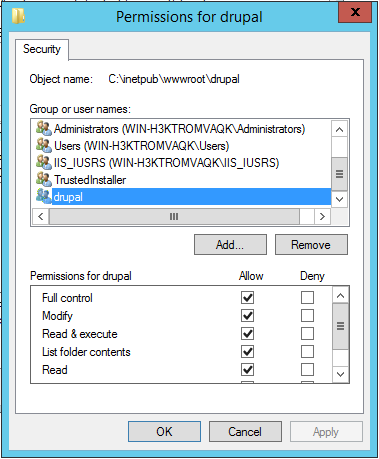
Select Full Control for the Permissions for drupal and then click Apply
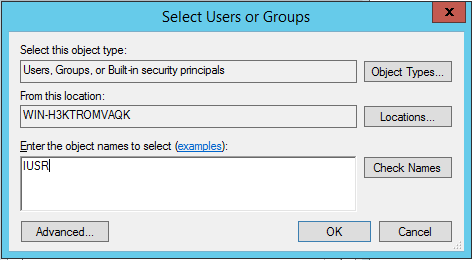
Again click Edit and then Add. This time enter IUSR then click Check Names and click OK
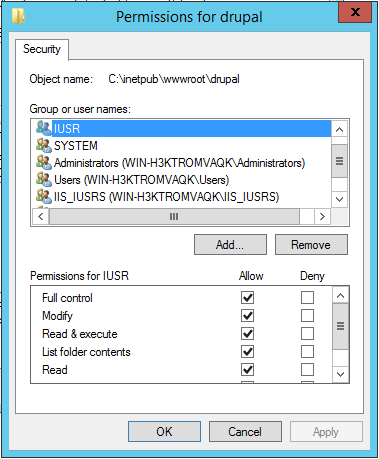
Select Full control for the permissions of IUSR and then click Apply
- We also need the files of two drupal modules:
- Drupal 7 driver for SQL Server and SQL Azure (sqlsrv)
- Wincache Drupal (wincachedrupal)
- It should be noted that sqlsrv version 8.x-2.x is not completely free. While the module itself is free to download, it needs the PhpMssql library which requires a paid license (it is free however if you actively contribute to an open source project). The 8.x-1.x branch of sqlsrv is completely free but is not recommended for production sites. For this guide, we will be using version 8.x-1.0-rc1.
- Download sqlsrv 8.x-1.0-rc1 and copy the extracted sqlsrv directory to C:\inetpub\wwwroot\drupal\drupal-8.0.6\modules
- Next copy the drivers directory from C:\inetpub\wwwroot\drupal\drupal-8.0.6\modules\sqlsrv to the root of the drupal installation directory at C:\inetpub\wwwroot\drupal\drupal-8.0.6
- Download the latest version 8.x version of WinCache Drupal and copy the extracted wincachedrupal directory to C:\inetpub\wwwroot\drupal\drupal-8.0.6\modules
- When drupal 8 is installed it will create the sites\default\files directory for you. However, on Windows it has a problem creating the required sites\default\files\tmp directory even though you have the proper permissions. Without the tmp directory, drupal will still be able to install but you will find that after intallation, both JavaScript and css will be missing from the site. This is because the tmp directory is required to aggregate the javascript and css but it does not yet exist. You can fix this by going to Configuration > File system and then clicking Save configuration and then go to Performance and click clear all caches. It is however must easier just to create both the files and tmp directory prior to installing drupal.
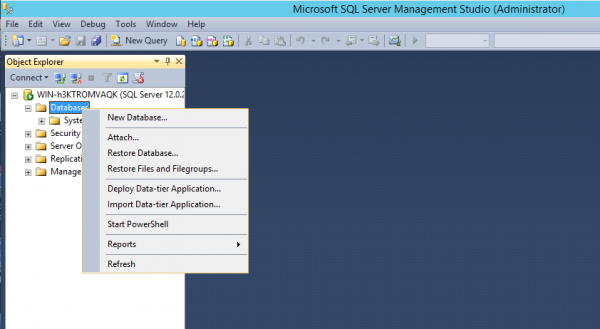
- We now need to create a new database on SQL server. To do this, start Microsfot SQL server Management Studio and login using the credentials you used to install SQL Server.
Right click the Databases folder on the left panel and select New Database.
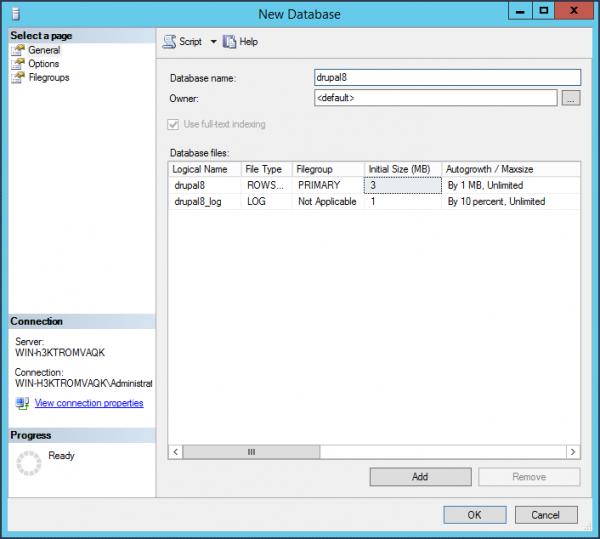
On the New Database form, enter the Database name and click OK to create the database
- Preparation is now complete and you can now proceed to install drupal
Install Drupal 8
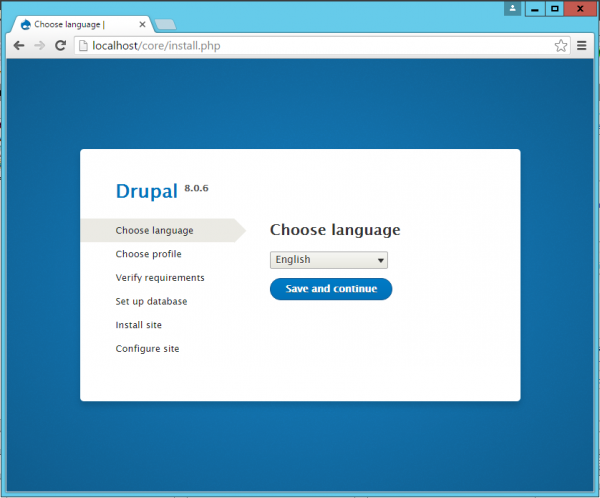
- Start the drupal 8 installation by navigating to http://localhost in a browser. For a new drupal 8 site installation, you will be automatically be redirected to http://localhost/core/install.php
On the Choose language page, choose your language and click Save and continue
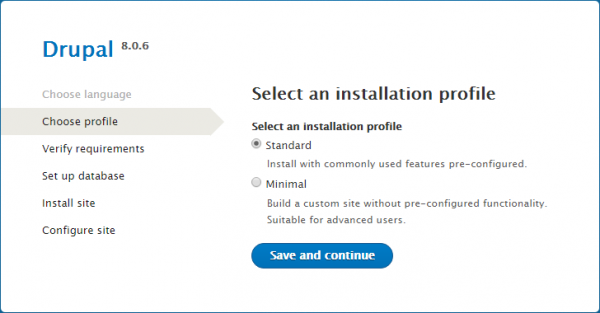
Select Standard on the Select an installation profile page and click Save and continue
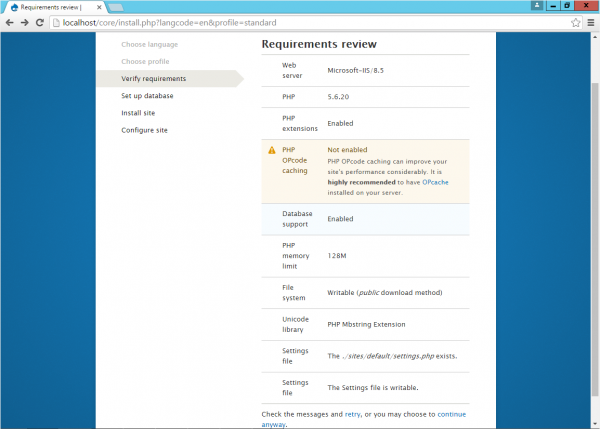
If the next page is Requirements review, check if you have missed any steps corresponding to the warnings or errors listed by the installer
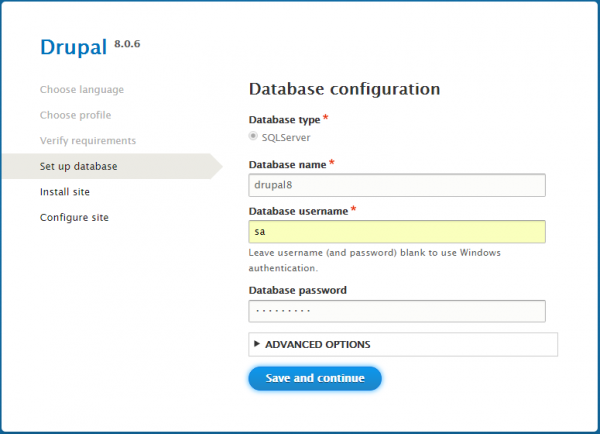
Complete the Database configuration page and click Save and continue
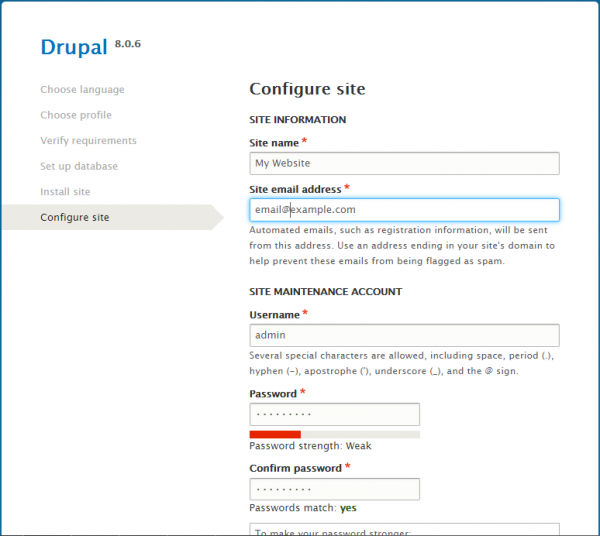
Fill in the Configure site page and click Save and continue
- Go to Reports > Report status. You should at this stage see only one remaining error called Trusted Host Settings. To fix this. We must first remove the read only property of settings.php configuration file. Right click C:\inetpub\wwwroot\drupal\drupal-8\sites\default\settings.php in file explore and select properties. Uncheck Read-only and click OK so we can edit the file.
Open settings.php using a text editor and add to the end of the file the following (You should add any additional domains that your site accepts) see https://www.drupal.org/node/1992030:
$settings['trusted_host_patterns'] = array(
    '^localhost$',
);
Go to Reports > Status Report and check for any warnings or errors.
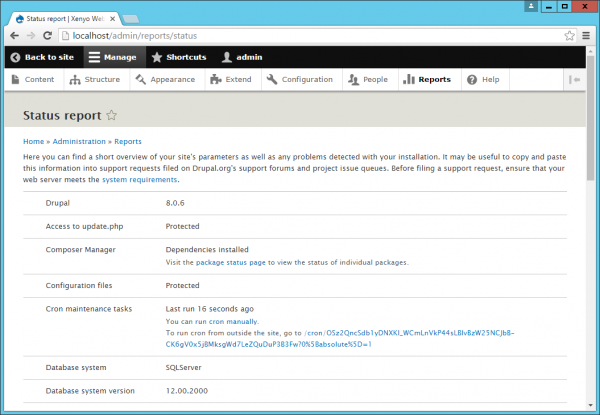
You should now have a working drupal 8 site.

Issues
For this guide, the free 8.x-1.0rc1 version of sqlsrv was used. It should be noted that although sqlsrv was installed the module was not explicitly enabled. When the module is enabled you will get several warnings in Status report regarding wincache integration to improve performance. I was not able to add the wincache integration due to the wincachedrupal module's dependency on the Supercache module. As soon as I enable supercache, I will get the error as follow:-
PDOException: SQLSTATE[HY010]: [Microsoft][ODBC Driver Manager] Function sequence error in C:\inetpub\wwwroot\drupal\drupal-8\core\modules\views\src\Plugin\views\display\DisplayPluginBase.php on line 192
Any subsequent requests to the site will result with the error:
Uncaught PHP Exception PDOException: "SQLSTATE[HY010]: [Microsoft][ODBC Driver Manager] Function sequence error" at C:\inetpub\wwwroot\drupal\drupal-8\core\lib\Drupal\Core\Cache\DatabaseBackend.php line 95
The developer of the sqlsrv module pointed out the problem to an outstanding issue with the msphpsql driver. He also informed that the paid version (8.x-2.x) of sqlsrv does not have this particular issue.